Setting Maximum Permissions
Jump to navigation
Jump to search
Maximum Permissions are determined by staff under Setup ➝ Member Login Area Options and Settings. The settings that are enabled here determine what is available to be assigned to each individual rep.
For example, if you want to remove the ability to assign the permission to post jobs, then set “Job Postings” to Disabled. Then this selection of Job Postings will not display as a possible selection to be included in your permission sets. Or if you want to allow some reps the ability to pay bills but other reps should not have this permission, set “Pay Bills Online” to Enabled under Member Login Area Options and Settings but then disable that permission within the permission set for those reps that should not have this ability.
Setting maximum permissions
1. |
Click Setup in the left-hand menu. |
2. |
Click Member Login Area Options and Settings. |
3. |
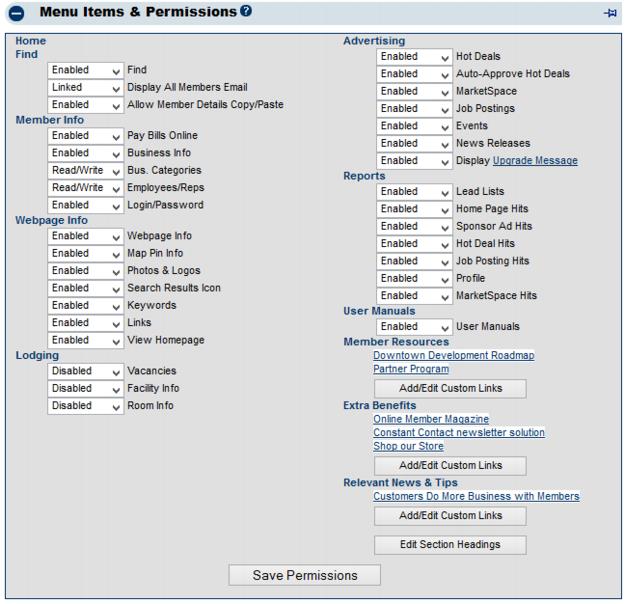
Open the Menu Items & Permissions area. |
4. |
Enable and disable desired selections to be available as possible options in your permission sets. |
5. |
Click Save Permissions. |

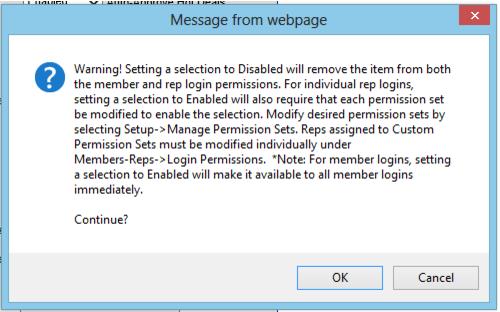
Permissions that are part of a permission set but then are disabled under Member Login Area Options and Settings will also be removed from the permission set. If the permission is later re-enabled under Member Login Area Options and Settings, it will be available to be selected within the permission set, but will be set at Disabled; it must be re-enabled within each permission set separately. Custom permission sets must be edited individually to re-enable the selection.
Menu Items and Permissions
The available menu items and permissions listed under Setup->Member Login Area Options and Settings control access the members have when they log into the Member Information Center.

Listed below are selections available under Member Login Area Options and Settings only. These are global settings and may not be selected within a permission set. See Rep permissions for explanation of the rest of the global permissions.
Find – |
Display All Members Email – see available settings
Allow Member Details Copy/Paste – see available settings
Webpage Info – |
Search Results Icon – if Enabled will display the selection allowing the member to upload the search results icon that shows alongside the member name in the online member directory. Photos & Logos permission must be enabled as well for the Search Results icon to show as an option to upload in the Member Information Center.
View HomePage – if Enabled will display a link in the Member Information Center to preview the Members’ Information Page. Available only with version 1.0 of the Member Information Center.
Advertising – |
Auto-Approve Hot Deals – if Enabled will automatically approve hot deals submitted by the member and not require staff approval; deals will go live on the public website without staff intervention
Display Upgrade Message – if Enabled will display the designated Upgrade message at locations in the Member Information Center when a feature is only available with an enhanced listing. . Available only with version 1.0 of the Member Information Center.
Custom Links 1, 2, 3 – These 3 sections can be named whatever you desire, creating a custom set of selections for members in the Member Information Center. Click Add/Edit Custom Links to add links that your member can access. Click Edit Section Headings to change the title from Custom Links to a name of your choice. |
In version 3 of the Member Information Center, the Custom Links display under the Search->Resources/Files menu.