Difference between revisions of "Create a group or mailing list"
Jump to navigation
Jump to search
| Line 16: | Line 16: | ||
#:[[File:Communication.1.057.3.jpg]] | #:[[File:Communication.1.057.3.jpg]] | ||
#: [[File:padding-20.png]] | #: [[File:padding-20.png]] | ||
| + | ##When selected, this group will display on your website in the Groups public module available at http://yoursubdomain.yourdomain.com/groups. Public module version 2.0 or 3.0 is required. | ||
| + | ##When selected, this roster list will be shown as a group/interest that may be searched by members in the Member Information Center version 3. | ||
Revision as of 21:15, 21 July 2015
- Click Groups in the left-hand menu.
- Click Create a Group on the Home tab.

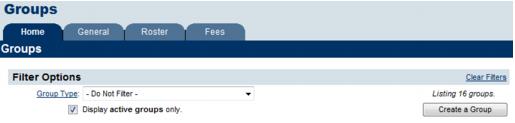
- Figure: Create a group
- Complete the Create a New Group fields for this new group.
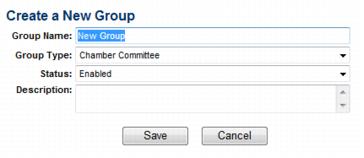
- Figure: "Create a New Group" fields–tabbed view
- Click Save.
- Click the Group Name of the new group on the Home tab.
- Click the General tab. Make sure the settings are correct.
- When selected, this group will display on your website in the Groups public module available at http://yoursubdomain.yourdomain.com/groups. Public module version 2.0 or 3.0 is required.
- When selected, this roster list will be shown as a group/interest that may be searched by members in the Member Information Center version 3.


