Events-Add custom fields
Jump to navigation
Jump to search
Create your own custom fields that may be included on public event registrations or kept private for internal purposes

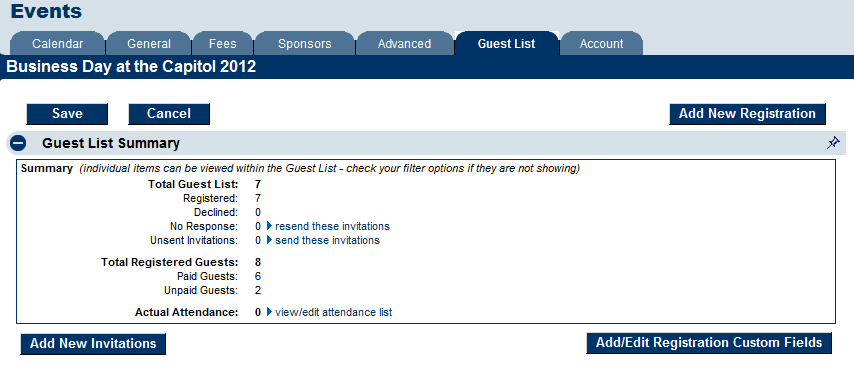
Click Add/Edit Registration Custom Fields on the Events->Guest List tab in the Guest List Summary area. |

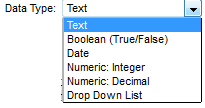
Make sure to select the appropriate data type for your custom field. Choices include Test, Boolean (Y/N), Date, Numeric: Integer, Numeric: Decimal and Drop Down List. |

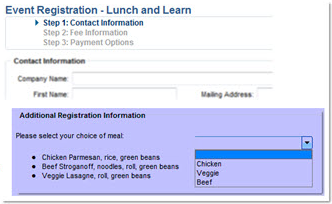
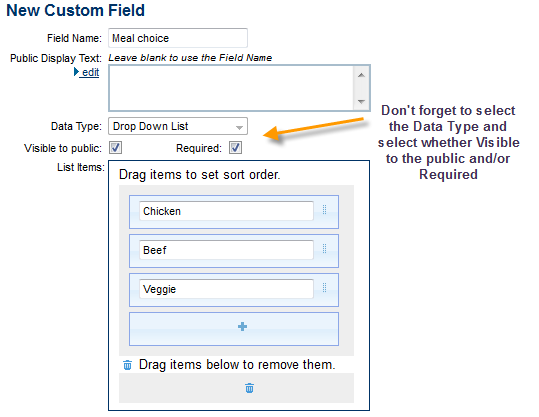
Sample of adding a new custom field asking for registrant’s meal choice. |

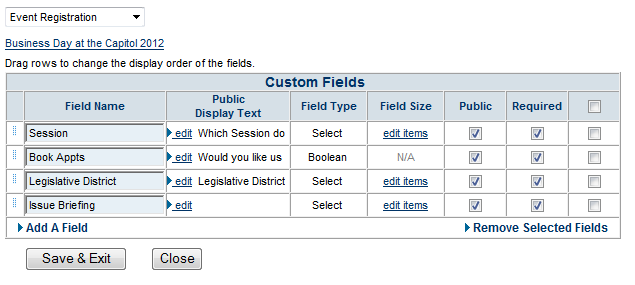
Field Name is the internal name of the field. It shows up on the guest list download. |
Public Display Text is how you want it presented on the registration screen. HTML is allowed, e.g. to create links. |
There are cases where you may want a custom field for internal use-only. E.g. table assignments. In these cases, do not select Visible to the public. |
Required is for ensuring the registrant supplies data |
Add and editing of custom fields is similar to other places in the software |

View the data by clicking into each registration or by downloading the guest list under the Reports drop-down menu at the bottom of the Guest List. |