Rep Photos in the MIC
Jump to navigation
Jump to search

Each individual rep may upload their photo in the Member Information Center (version 3 or greater). If no rep photo is uploaded, then a member logo will display if it exists. With no member logo or rep photo uploaded, a generic default image will appear.
This image displays in the Member Information Center on the menu bar next to the representative’s name and on the individual rep information page. This image will also appear in the Community Activity feed (Member Information Center v 4.0) next to your posts.

This photo may also be displayed on your website if you are using the public /groups module and this rep is listed as a member of a group which is marked to display on your website.
Upload Rep Photo (Member instructions when logged with Individual Rep Login)
The individual rep must have Read/Write permissions for “Individual Profile” to allow access to their own profile and/or Read/Write permissions for “Employee/Reps” which allows access to their own and all other rep profiles. These are set on each rep under Members->Reps tab->Login Permissions.
1. |
Member logs into the Member Information Center. |
2. |
Select My Personal Info from the Account menu. |
3. |
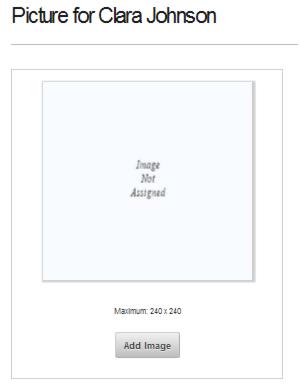
Scroll down to the “Picture for …” section. |
4. |
Click Add Image. |
If the Add Image selection does not appear, then appropriate permissions may be not be assigned to this rep. The individual rep must have Read/Write permissions for “Individual Profile” and/or Read/Write permissions for “Employee/Reps”.

5. |
Click Browse, locate and select the graphic, and then click Done. |
Note: Only .gif, .jpg, .jpeg, and .png are able to be uploaded. Recommended image size is 240 x 240 pixels but larger images are automatically resized to fit if needed.
6. |
Scroll up to the top or down to the bottom and click Save Changes. |
Upload Rep Photo (Member instructions when logged with a Member Login)
1. |
Member logs into the Member Information Center. |
2. |
Select Employees/Reps from the Account menu. |
If the Employees/Reps selection does not appear, then appropriate permissions may be not be assigned to this member. The member must have Read/Write permissions for “Employee/Reps” under Setup->Member Login Area Options and Settings.
3. |
Click the Rep Name of the desired rep. |
4. |
Scroll down to the “Picture for …” section. |
5. |
Click Add Image. |
6. |
Click Browse, locate and select the graphic, and then click Done. |
Note: Only .gif, .jpg, .jpeg, and .png are able to be uploaded. Recommended image size is 240 x 240 pixels but larger images are automatically resized to fit if needed.
7. |
Scroll up to the top or down to the bottom and click Save Changes. |