Reports and Downloads-Import into Microsoft Word 2007 or newer
Jump to navigation
Jump to search
 How do I know if I have Microsoft Word 2007 or newer? Open Microsoft Word. Click the Microsoft Office button (shown above) and then click Word Options. Click Resources and then click About. This will display your current version of Word. Note: if you do not see the Microsoft Office button above, you probably have an earlier version of Microsoft Word.
1. |
Open Microsoft Word 2007 (or newer) with a blank document screen ready. |
2. |
Click the Mailings tab. |
3. |
Click Start Mail Merge in the Start Mail Merge group. |
4. |
Click Step by Step Mail Merge Wizard. |
Figure 5-9 Word menus
Starting with step #5, there are no differences between Microsoft Word 2003 and Word 2007 although the tips and hints may vary a little bit.
5. |
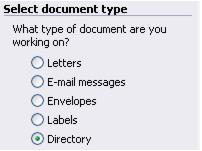
Click Directory in the control panel. |
Note: If creating labels or envelopes select the desired option in Step 5. Continue to answer the questions in the Microsoft Word mail merge wizard to complete the desired output.
Figure 5-10 Step 1
7. |
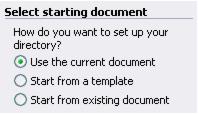
Click Use the current document. |
Figure 5-11 Select starting document
9. |
Click Use existing list. |
Figure 5-12 Select recipients
11. |
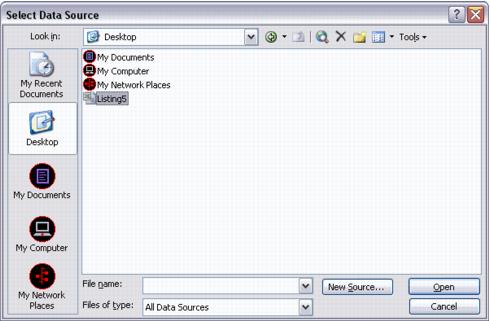
Browse to the location where you saved the directory data file. If you were unsure where to save your file you may have selected to save the file on your Desktop. If so, click Desktop in the left-hand shortcut area. |
12. |
Click the filename of the directory data file. |
Figure 5-13 Select data file
13. |
Click Open. |
14. |
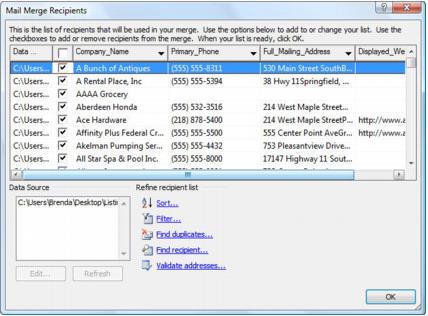
The list of downloaded names will appear. Click OK. |
Figure 5-14 Mail Merge Recipients
16. |
Design the page layout as you desire. Add your header and footer; create columns at this time! |
17. |
18. |
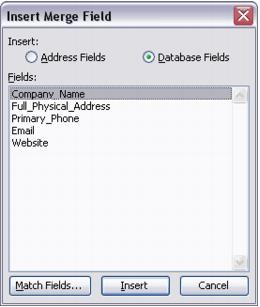
Click the Company_Name field and click Insert. (your field names may vary.) |
Figure 5-15 Insert Merge Field
19. |
Click the Full_Physical_Address field and click Insert. (your field names may vary.) |
20. |
Continue inserting fields until all desired fields have been selected. Then click Close. |
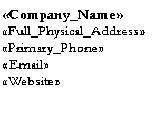
If the field names displays like this:
It will display like this with livedata:
21. |
Format the all fields as desired (i.e. font size & style, bold). You may also wish to place each field on it’s own line by pressing Enter between the two field names so it appears as shown above (this is only an example of the fields name - - your field names may vary) Remember to include a blank line after your last field. |
«Company_Name»
«Full_Physical_Address»
«Primary_Phone»
«Email»
«Website»
TIP! During step #20, follow the steps here to keep all lines of a member record on the same page or column. Select the all the field names you want to keep together on a page. (Do not select the blank lines between the records.) In the Paragraph group on the Home tab, click to open the Paragraph dialog box. Click the Line and Page Breaks tab. Select the Keep with next check box. Click OK.
If pressing Enter places too much space between your lines, you may need to modify your line spacing options. On the Home tab in the Paragraph group. click to select the Paragraph dialog box.  Make your changes on the Indents and Spacing tab for Line Spacing and Space After the paragraph.
22. |
23. |
25. |
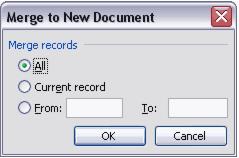
Complete the Merge to New Document screen and click OK to create the directory. |
Figure 5-16 Merge to New Document
If the completed directory does not meet your expectations, close that new document window and click Previous in the MS Word control panel to return to the step that needs redone. Continue using the same procedure as already describe.
26. |
The directory will appear on the screen in a new document. |
27. |
Save your completed directory file. |

