Process an Order
Other Topics > ECommerce > Process an Order
How do I process an order?
Watch a short video on how to Process an Order: ![]()
When an order is placed, an email notification is sent to the Store Owner address (initially defaulted to the address listed under Setup > Organization Information.)
- This email template and associated settings can be found under Content Management > Message Templates. Edit the template called “OrderPlaced.StoreOwnerNotification”.
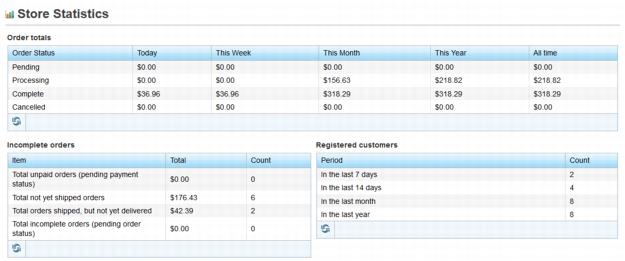
- The Store Statistics on the Store Dashboard will indicate the quantity and value of orders that are incomplete.
Process and Ship an Order
1. Click eCommerce in the left-hand menu.
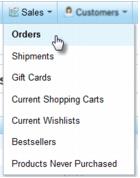
2. Click Sales and select Orders from the drop-down menu.
3. Note the orders and their status columns – Order status, Payment status, and Shipping status.
- If your list of orders is quite long, use the filter at the top of the list to specify exactly what you’d like to see in your list.
4. Click View in the row of the item that you desire to process.
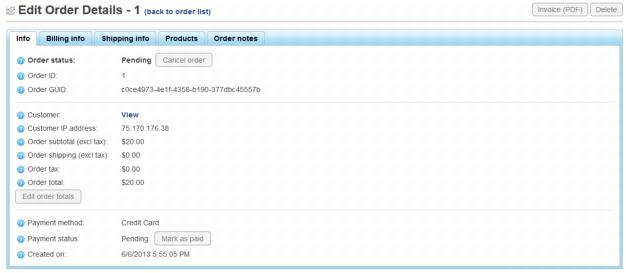
5. By default, all orders are by credit card payment only so your order will be marked as Paid already.
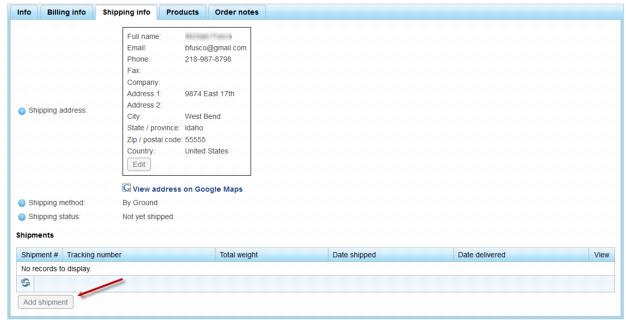
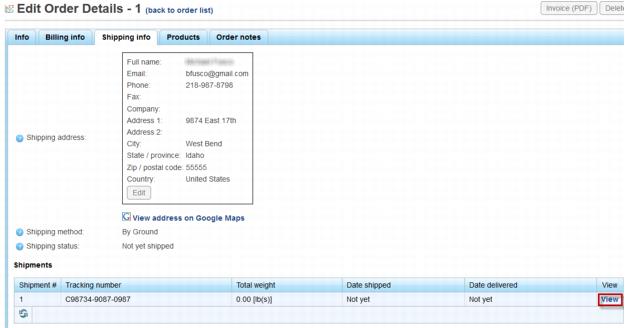
6. Click the Shipping info tab.
7. Click Add shipment at the bottom of the screen.
8. Enter the tracking number associated with your shipment of this item.
- This will vary depending on your shipping carrier and what information you desire to record for shipping records. This tracking number is also visible to customers that choose to check their order status by logging into the storefront.
9. Make sure the quantity is correct for the items that will be included in this shipment.
- If all of the items are not ready to be shipped, you may set their quantity at 0 on this screen. The order will then display as Partially Shipped when viewing the Shipping Status on the Sales->Orders list.
10. Click Save.
11. The shipment will be added to this order but still not marked as “shipped” until you add a date to the shipment.
- The intent is that you can setup the shipment but separately indicate when the shipment actually goes out the door. At that time, place the date on this shipment. An email notification, ShipmentSent.CustomerNotification under Content Management->Message Templates, is automatically sent to the purchaser when this date is set.
12. To add a date to the shipment, click View on the row of the desired shipment.
- Or note that you can edit the shipment to add dates at any time by selecting Shipments from the Sales menu.
13. Click Set as shipped button.
- An email notification, ShipmentSent.CustomerNotification under Content Management->Message Templates, is automatically sent to the purchaser when this date is set when the email is marked as active.
- This Shipped date is also visible to customers that choose to check their order status by logging into the storefront.
14.Today’s current date and time will automatically be placed on this shipment. No other date or time may be specified and this date/time may not be undone.
15. When the order has been delivered, click Set as delivered. You may return to this later at any time by selecting Shipments under the Sales menu.
- An email notification, ShipmentDelivered.CustomerNotification under Content Management->Message Templates, is automatically sent to the purchaser when this date is set when the email is marked as active.
- This Delivered date is also visible to customers that choose to check their order status by logging into the storefront.
- Note: The order will continue to show as “Processing” until a delivered date is added.
16. Click Print Packaging slip if desired and follow on-screen instructions.
17. Click back to order details.
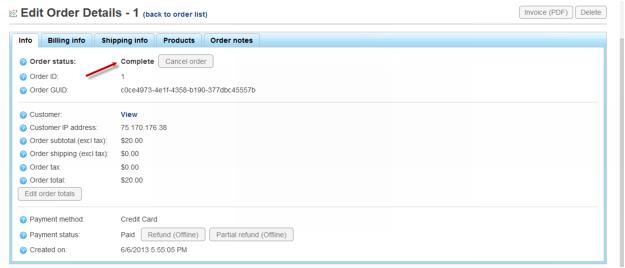
18. Once the order has been marked as paid, shipped, and delivered it will list as "Complete" on the Order Info tab and on the Store Dashboard.
