Emails Letters and Mailing Lists-Inserting a database field
Jump to navigation
Jump to search
1. |
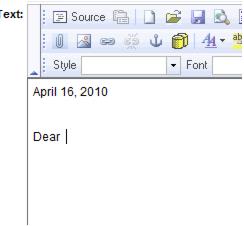
Open the editor window and type any text that will be consistent for all recipients. Example: |
Figure 6-1 Example letter that will contain Database fields
3. |
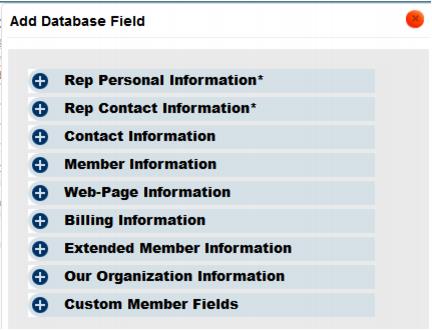
Figure 6-2– Add Database Field window
4. |
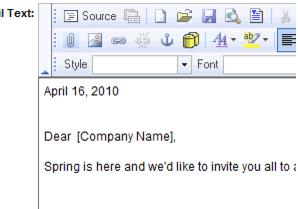
Click to select the desired database field. The selected field will display in the editor window within brackets. e.g. [Company Name] |
As you continue and actually generate the communication output, the field name will be replaced with the appropriate matching data for that member.
5. |
Proceed with standard steps to complete this communication. All fields displayed in brackets will be filled with data from the member’s record. |
Figure 6-3 Sample letter with Database Field inserted


